Create a virtual machine
This guide creates an Ubuntu 24.04 virtual machine from the console, boots it, and shows you where to find its private IP.
You need a project with at least one subnet in the target AZ. See Virtual machines for the full list of prerequisites.
Open the wizard
- In the sidenav, open Compute and click Instance.
- Click Create in the top right corner.
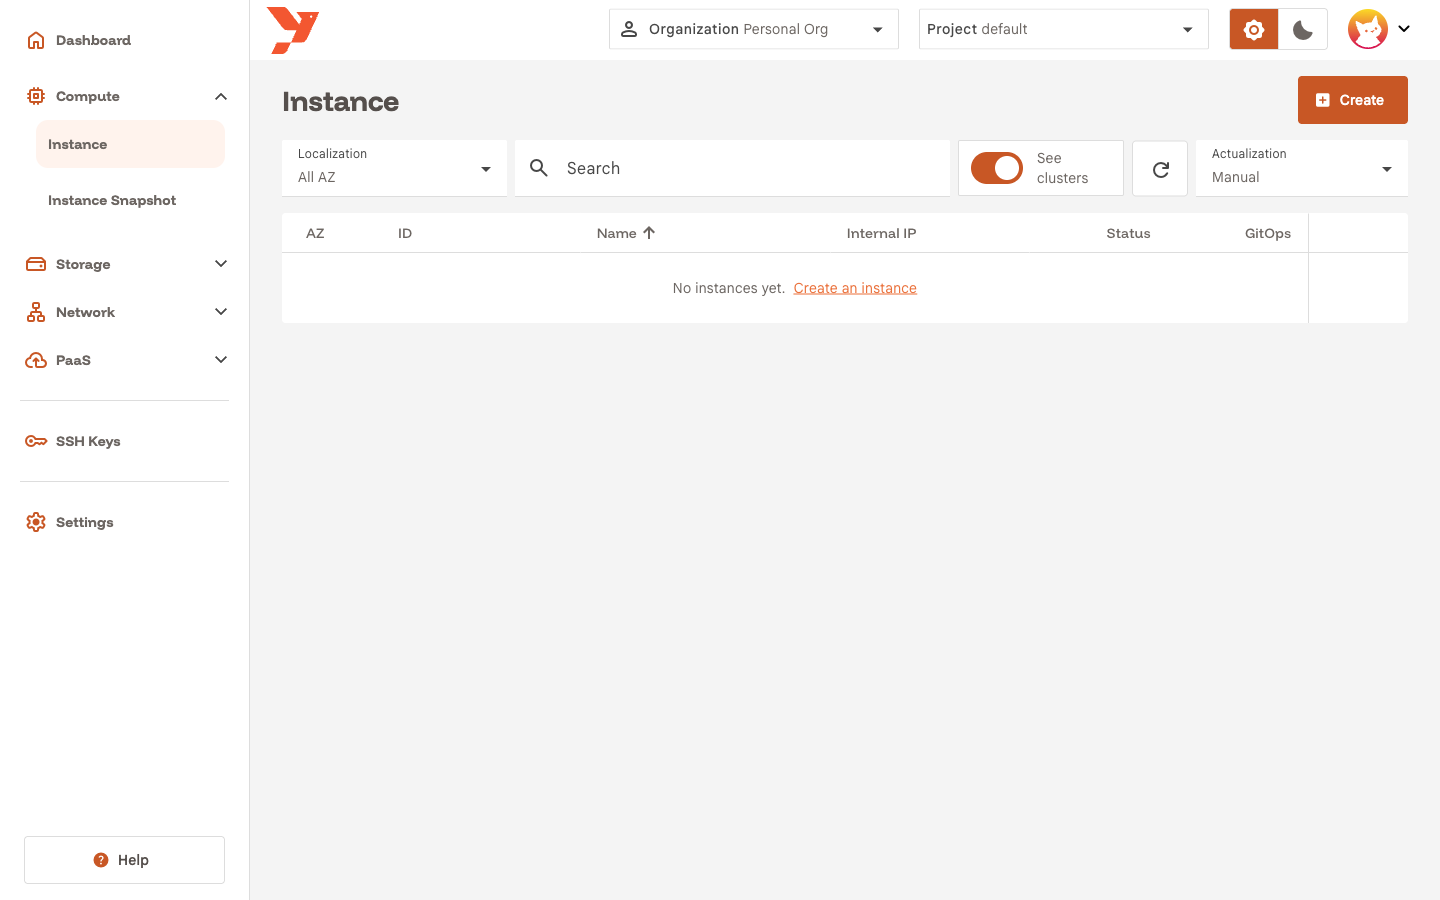
The wizard has four steps: General Information, Compute, Storage & SSH and Network. Click Next to move forward and Back to change an earlier step.
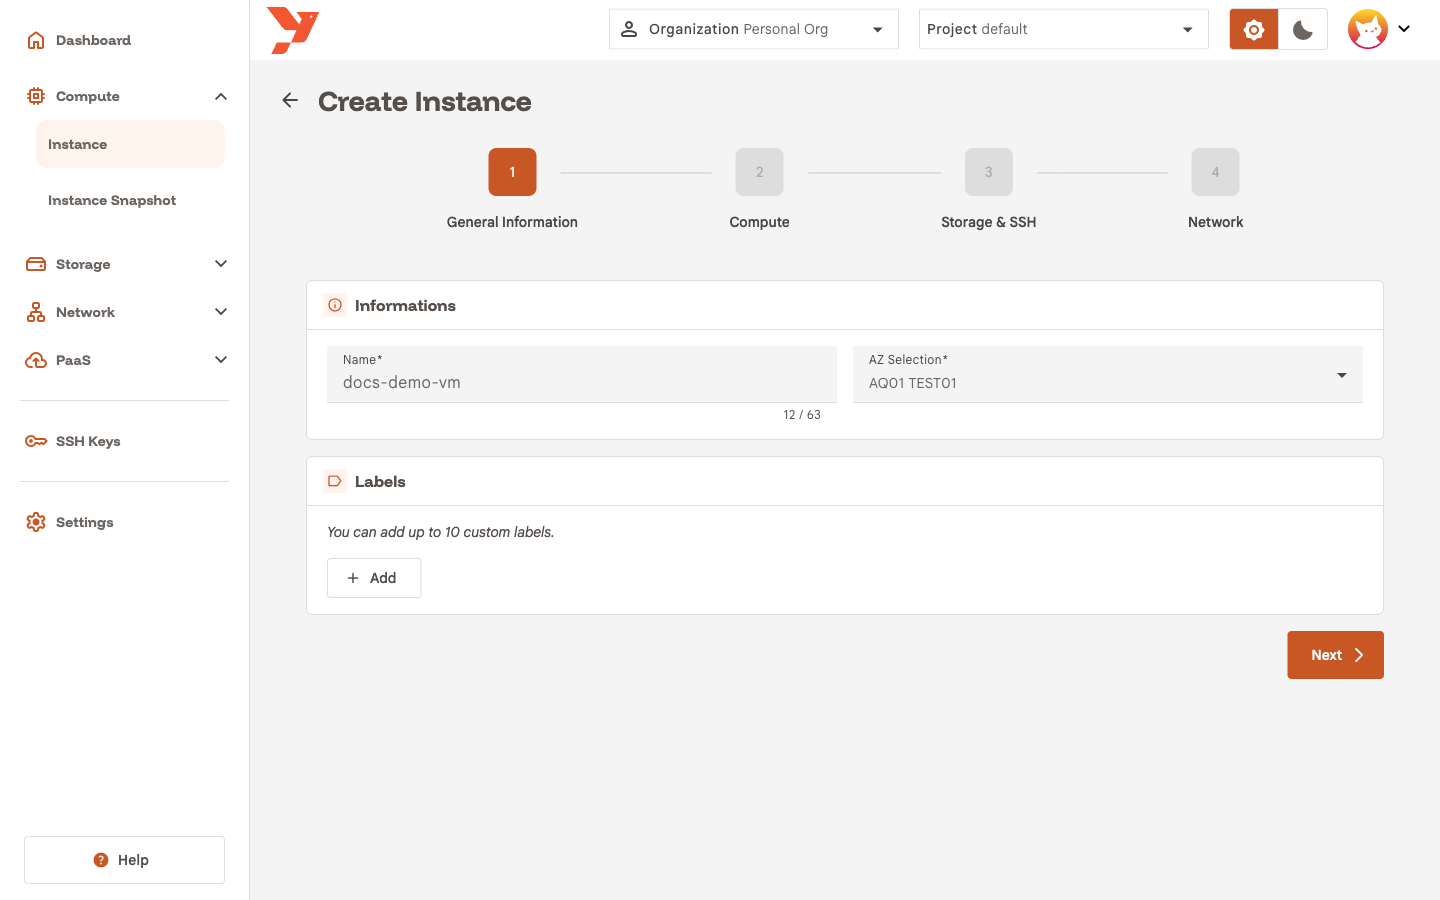
Step 1: General Information
- Enter a Name. The guide uses
docs-demo-vm. - Pick an AZ in AZ Selection.
- Optional: add up to 10 Labels as key/value pairs.
Note
The AZ is final. To run the same workload elsewhere, create a new VM in the other AZ.
Step 2: Compute
- Choose a RunStrategy.
Manual(the default) creates the VM stopped, and you start it yourself.Alwaysboots the VM as soon as its disks are ready and restarts it if it stops. The guide usesAlways. - Keep Instance Type on
linux. - Pick Cores (1 to 32) and RAM (1 to 64 GB). The guide uses 2 cores and 4 GB.
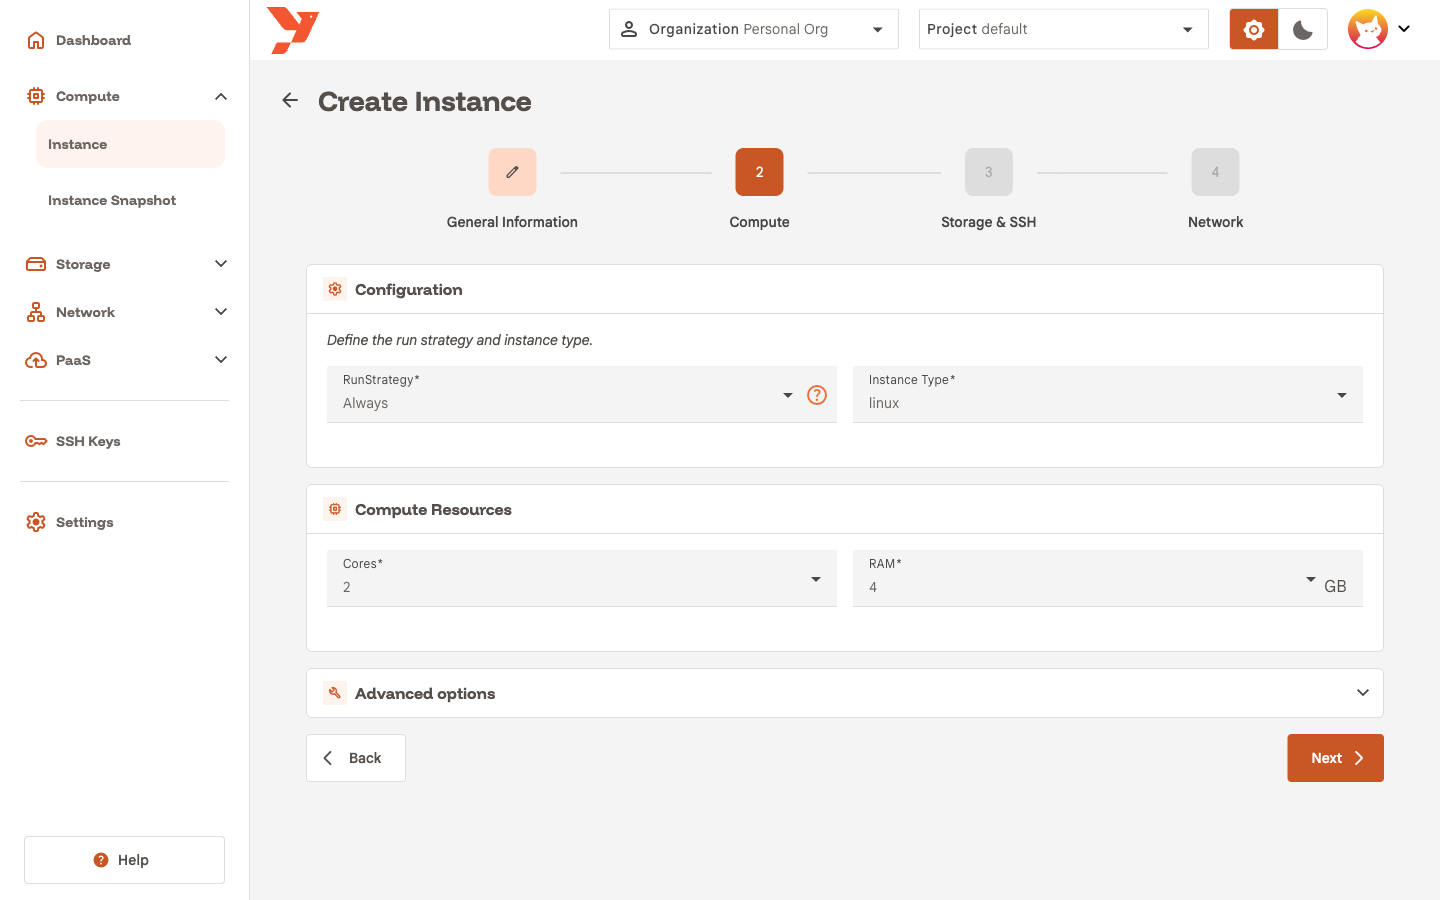
Advanced options lets you set CPU topology and other KubeVirt settings. Leave it collapsed for a first VM.
Step 3: Storage & SSH
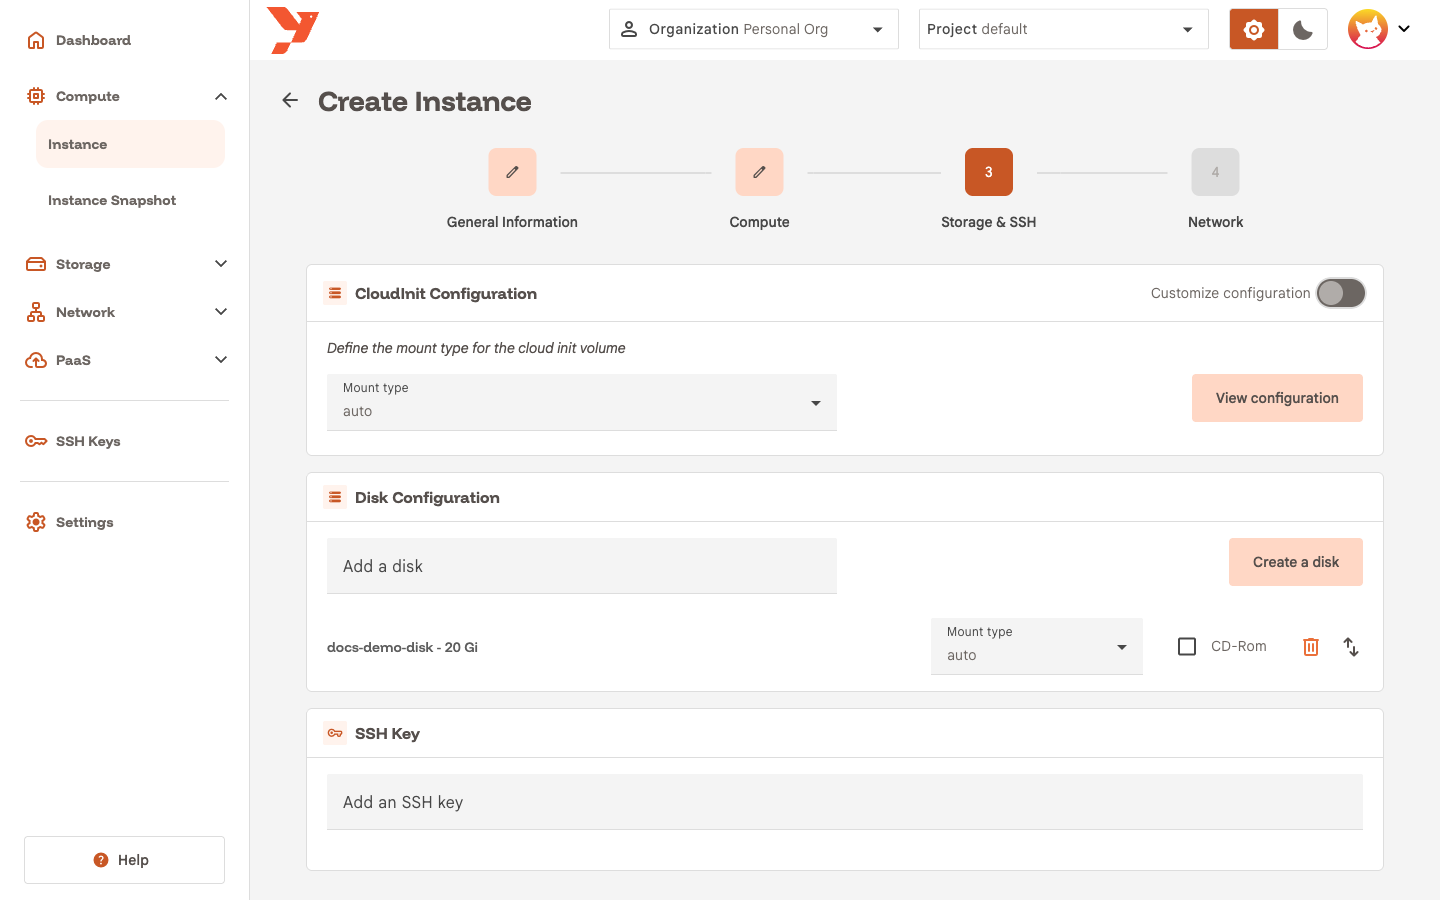
This step has three cards: CloudInit Configuration, Disk Configuration and SSH Key.
Boot disk
You can attach an existing disk with Add a disk, or build one in place with Create a disk. The guide creates one:
- Click Create a disk.
- Enter a Name, for example
docs-demo-disk. - Set Disk size to
20Gi. The disk must be larger than the image you import. - Pick a Storage class.
Defaultis fine. - Set Source type selection to
Http. - Paste the image URL in Url:
- Click Add.
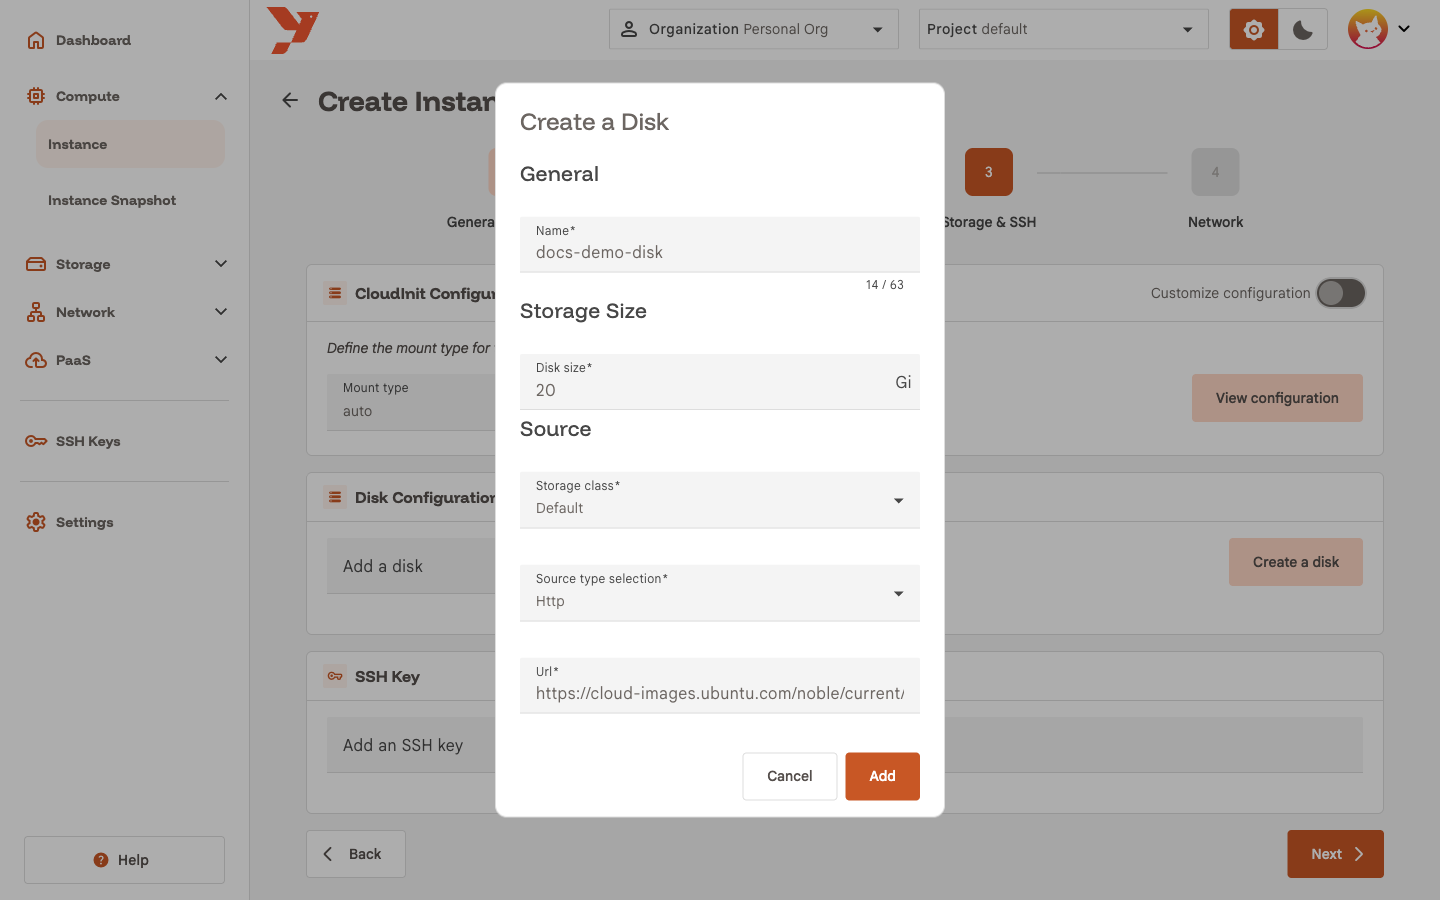
The disk appears under Disk Configuration with its own Mount type and a CD-Rom checkbox. Leave both alone for a boot disk.
Warning
A disk with source type Blank has no operating system. A VM with only a Blank disk powers on and stops at the firmware prompt.
The other source types are Snapshot (restore from an instance snapshot), Clone (copy an existing disk) and Registry (pull a container disk image).
Cloud-init
The CloudInit Configuration card carries the first-boot configuration. The default one creates a spx user with passwordless sudo, sets a generated password that expires at first login, enables SSH password authentication, and points DNS at 1.1.1.1. You read the generated password later on the instance details page.
Switch on Customize configuration to write your own cloud-init user data instead.
SSH key
Pick a key in Add an SSH key to inject it into the VM. You manage keys under SSH Keys in the sidenav. Skip this if you plan to log in with the password.
Step 4: Network
- Open Add a subnet and pick a subnet from the AZ you selected. The guide uses
docs-demo-subnet (10.20.0.0/24), created with a NAT gateway so the next guide can attach a public IP. Any subnet in the AZ works for this step. To create one, follow Create a subnet with a NAT gateway. - Leave IPv4 and IPv6 empty to get addresses from IPAM, or type the static addresses you want.
- Optional: specify a custom MAC address using IEEE 802 colon notation (for example,
52:54:00:12:34:56). Hyphen-delimited formats are not supported. - Optional: choose an Interface Model (
virtiofor maximum performance, ore1000for legacy operating system compatibility). - Click Create.
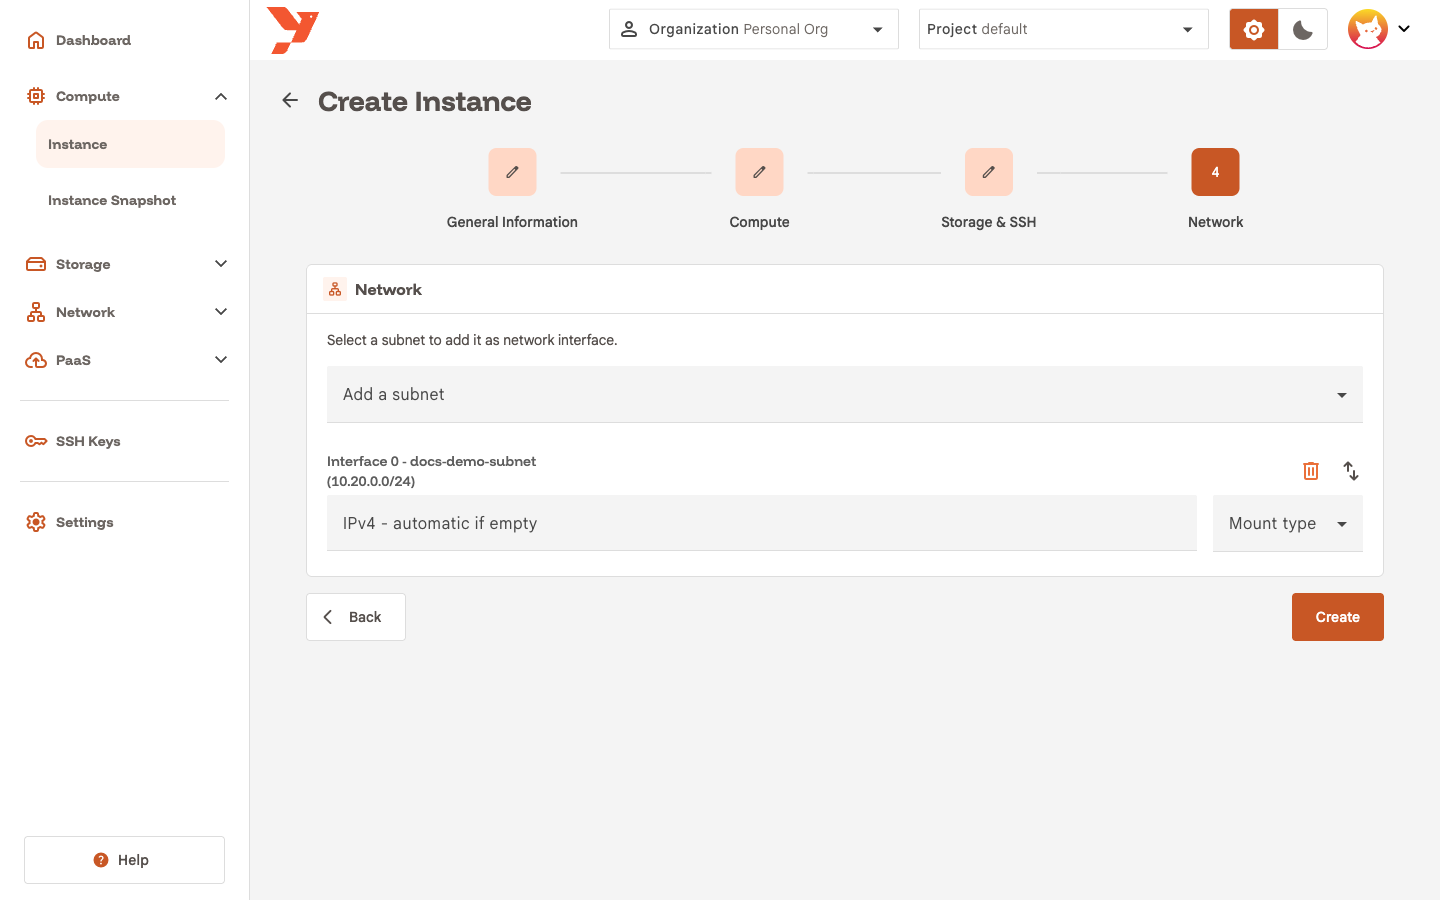
You can add several subnets. Each one becomes a network interface on the VM, numbered from Interface 0. The first interface (Interface 0) acts as the primary network interface.
Start and access the VM
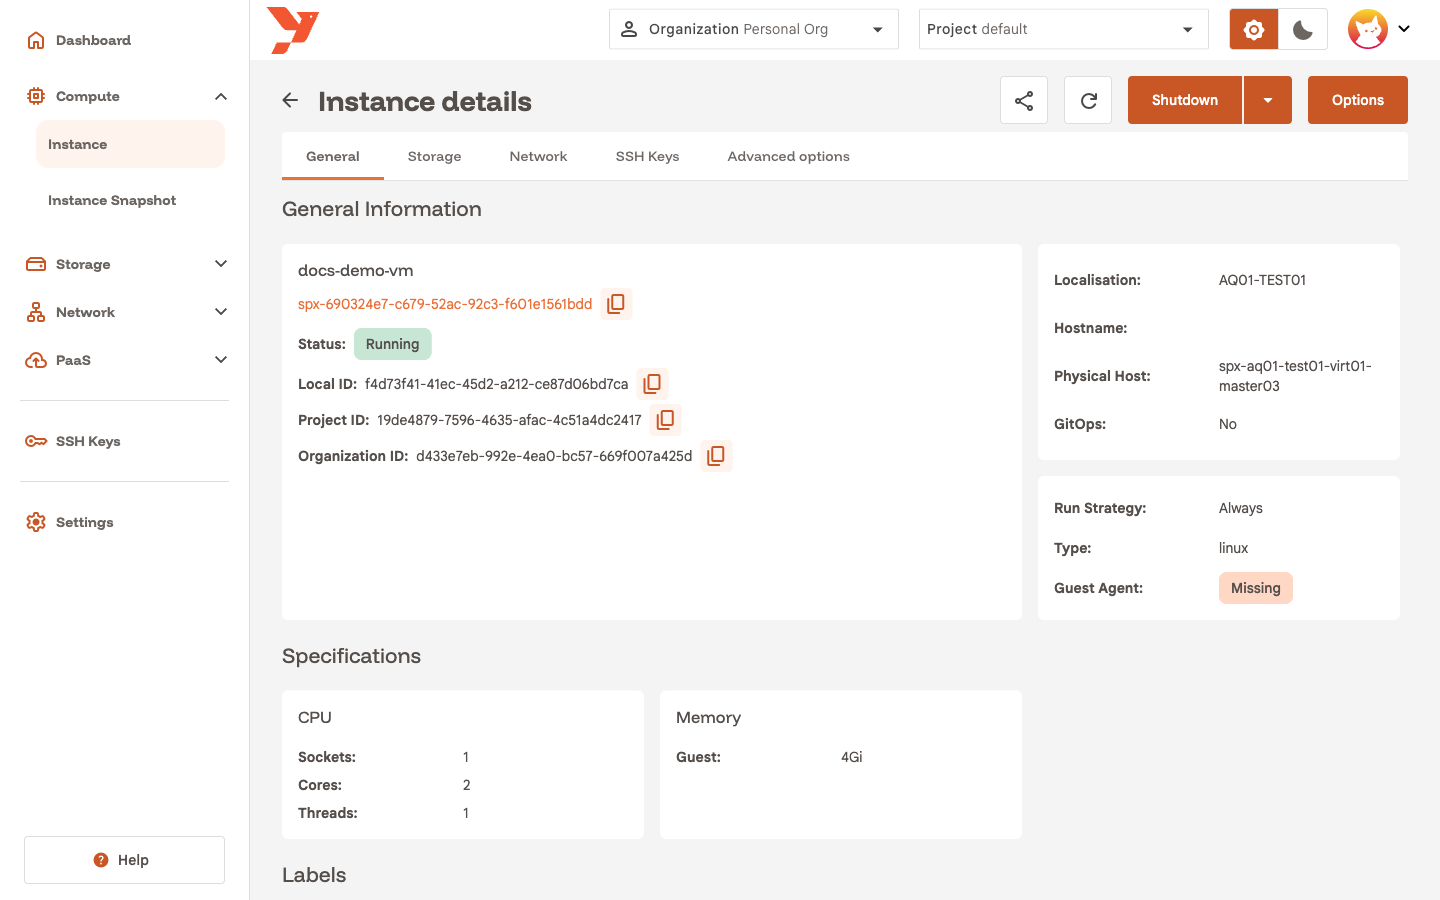
The console opens the instance details page. The status starts at Pending while the disk imports the image. Open the Storage tab to follow the Progress column.
With RunStrategy Always, the VM boots on its own once the disk is ready and the status turns to Running. With Manual, click Start at the top of the page when the disk is ready.
Find the private IP and inspect network interfaces
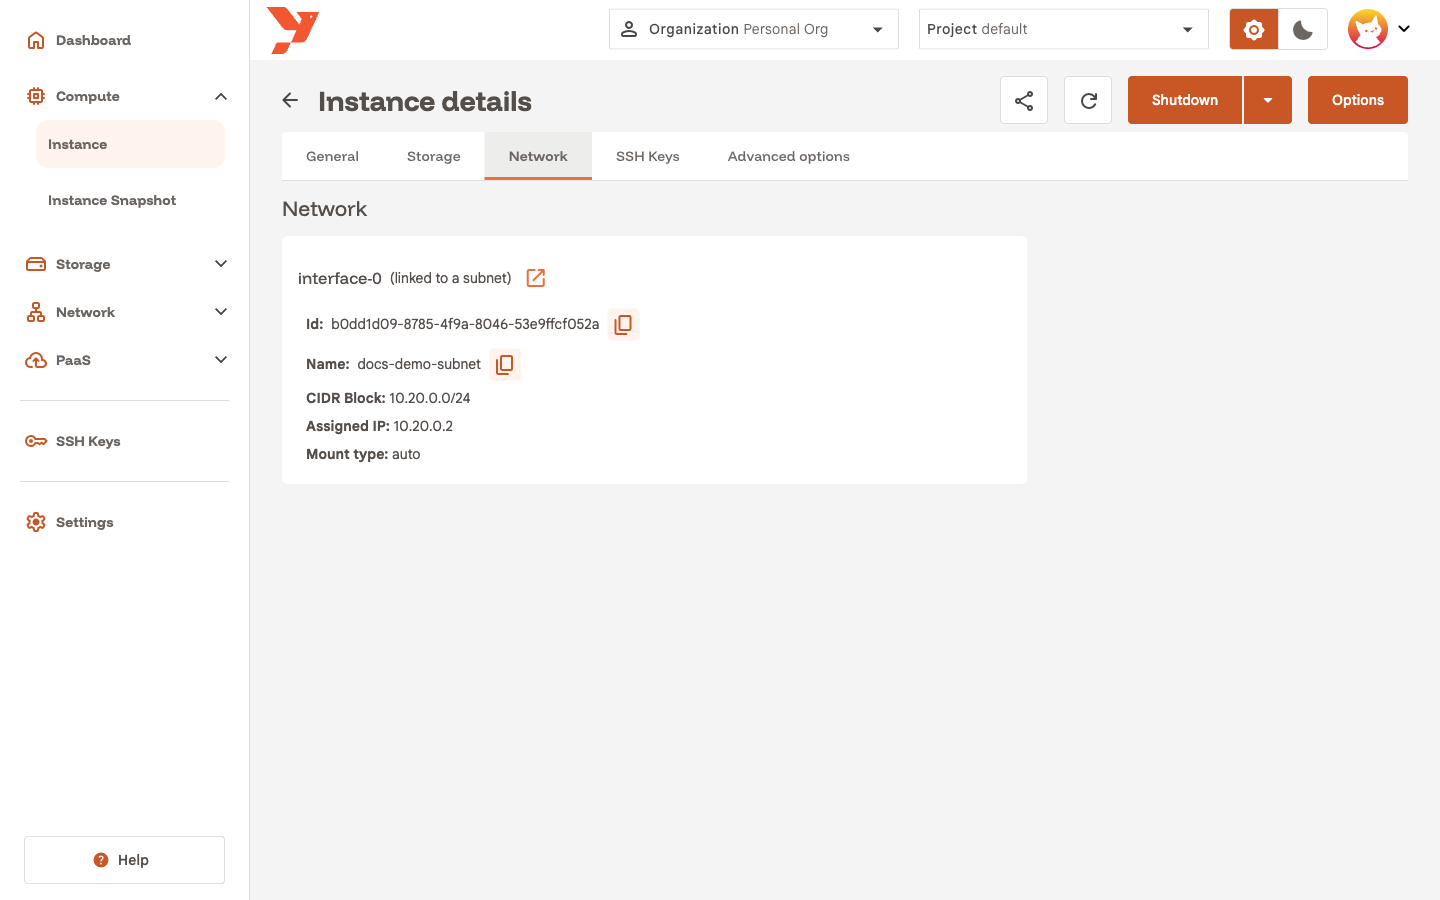
Open the Network tab to inspect attached interfaces. Each interface is organized into a dedicated card with clear visual sections:
- Header: Shows the interface name (
eth0), a star icon for the primary interface, a link action button to toggle link state, and warning indicators if the primary interface is disabled. - Link Status: Shows the administrative Desired State (
UporDown) side-by-side with the guest's real-time operational Carrier State (Link Up,Link Down, orInstance stopped). - Network & Addressing: Displays the subnet name with a direct link button to view subnet details, Subnet ID, CIDR block, and copyable Assigned IP addresses.
- Hardware Specifications: Displays the copyable MAC address and interface mount type / driver model (
virtio,e1000).
You can enable or disable an interface without restarting the VM. Disabling the primary interface requires confirmation to prevent accidental loss of remote connectivity.
Read the generated password
Open the Storage tab and click Show next to UserData. The chpasswd block holds the password for spx. Ubuntu forces a password change at the first login.
Open a console
The Options menu at the top right offers Serial and Console. Both open a terminal in your browser, which is useful when the VM has no network access yet.
The same menu holds Edit, Create Snapshot and Delete. Next to it, the Shutdown dropdown also offers Force Shutdown and Restart.
Next
The VM is reachable from other VMs on the same subnet. To reach it from the Internet, follow Expose a VM with an Elastic IP.